
Blogi
Building a unique greenhouse
Looking to build a unique and stylish greenhouse for your garden this summer? Tuija used to have an 8-corner garden house in her yard, the concrete base of which was still in place. Therefore she decided to build a greenhouse of the same shape on top of it. In this article, she introduces the step-by-step process of building her greenhouse.
Looking to build a unique and stylish greenhouse for your garden this summer? Tuija used to have an 8-corner garden house in her yard, the concrete base of which was still in place. Therefore she decided to build a greenhouse of the same shape on top of it. In this article, she introduces the step-by-step process of building her greenhouse.
Having my own greenhouse had been a dream of mine for a long time. I had received tastings of home-grown cucumbers, tomatoes and chilies from my friends, which only increased my enthusiasm.
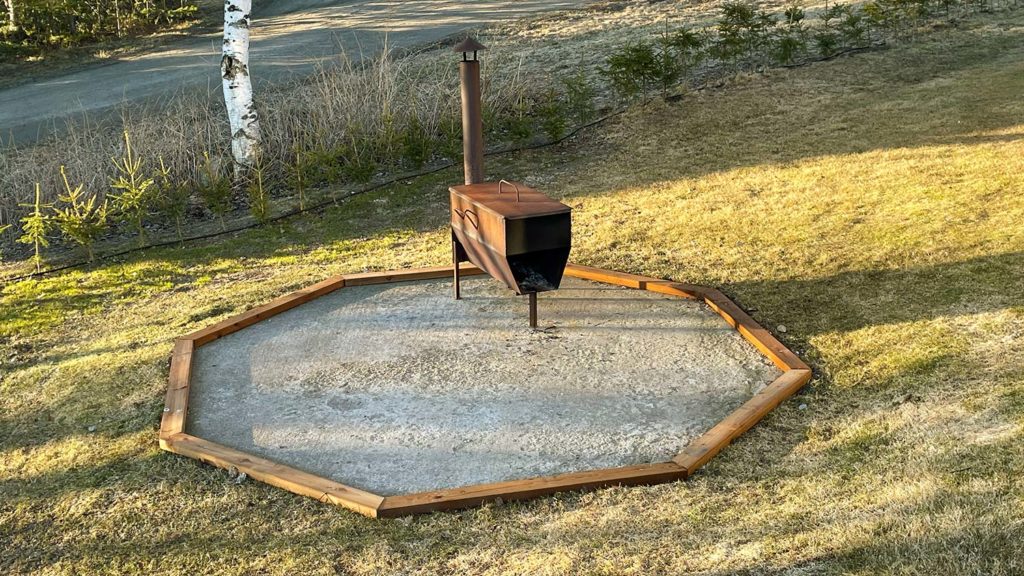
There had once been an 8-corner garden house in our yard, the dilapidated frame of which had been dismantled. What was left was a sturdy, completely intact concrete slab that was just waiting for the walls around it. At the beginning of the project, we wondered how we would manage to build a greenhouse together. We are handy with our hands, but we had never done such a large construction project before.
How to build a plastic greenhouse?
From the very beginning, it was clear that the frame of the DIY greenhouse would be made of wood. Bright acrylic was chosen as the material for the walls and the ceiling. Two ventilation hatches would be placed in the ceiling, in which automatic openers would be installed.
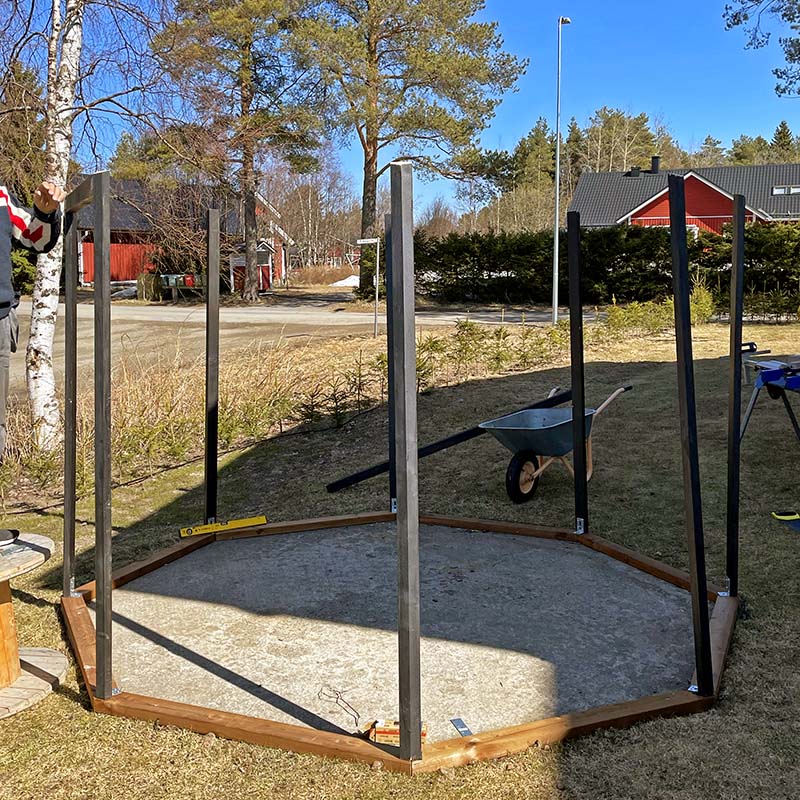
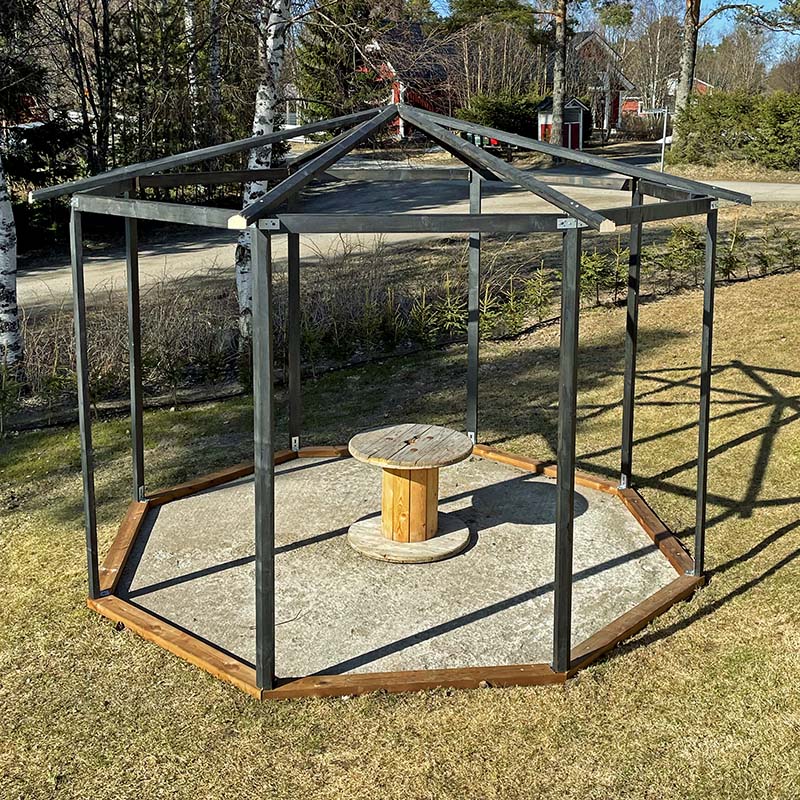
We made a frame out of wood around the concrete slab, to which the vertical posts could be easily attached with the help of corner irons. At the upper end of the upright trees, we put horizontal supports, to which we attached the rafters.
Installing acrylic walls to the greenhouse
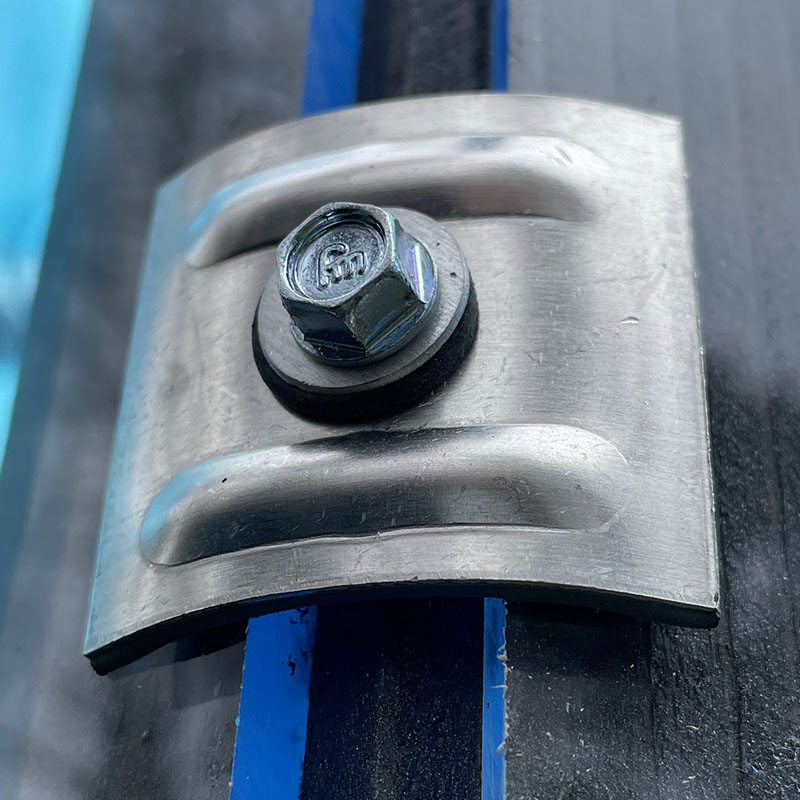
When attaching acrylics, we tried to make as few holes as possible to avoid breakdowns caused by thermal living. We only left small gaps between the acrylics and, with the help screws, pressed the plates into the frame.
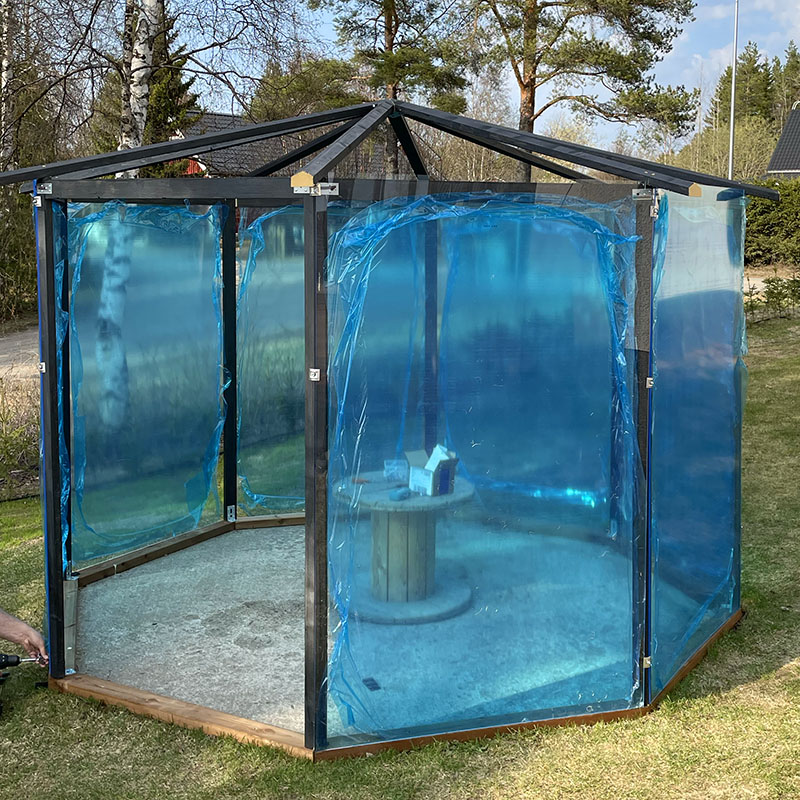
We had chosen 8 mm acrylic plates for walls and the ceiling. Even though I’ve been dealing with plastics for over 20 years, the rigidity of the plastic still came as a surprise: the 1200 mm support spacing at the bottom was too wide and the plate was sagging. Fortunately, we were able to solve this problem by adding a podium to the top, on which the acrylic plates could lean, and the walls straightened.
Finishing touches to the DIY greenhouse project
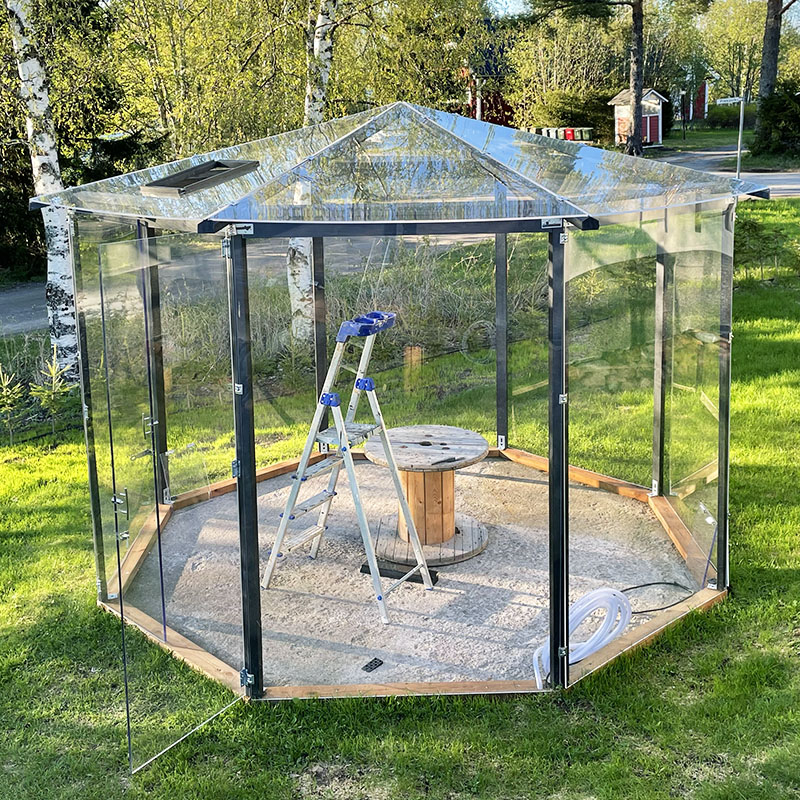
For ventilation hatches, we made openings in the roof of the greenhouse with a pattern saw, and built wooden frames, to which we attached the openers. We made the door out of 12 mm acrylic because we didn’t want frames on it and installed the door directly to the frame.
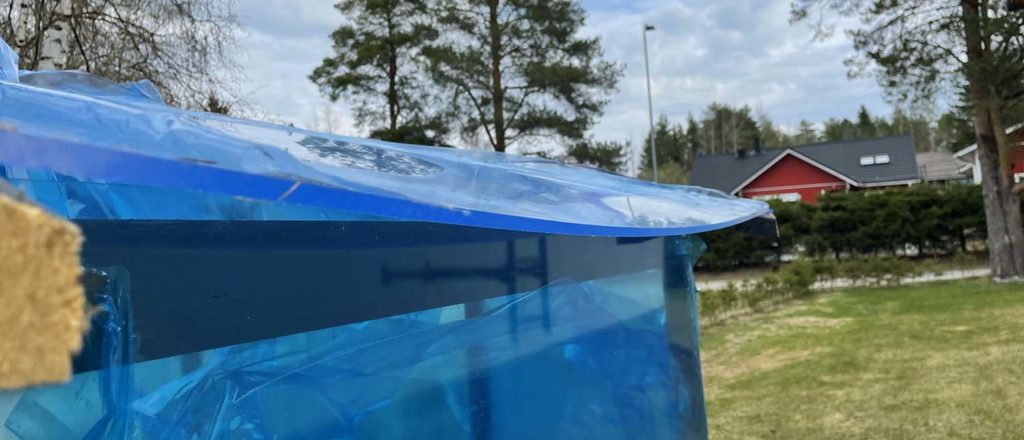
Lastly, we placed sheet metal mouldings on top of the vertical and roof seams of the greenhouse, to prevent wind and water from rotting the wooden frame.
The unique greenhouse is ready for summer
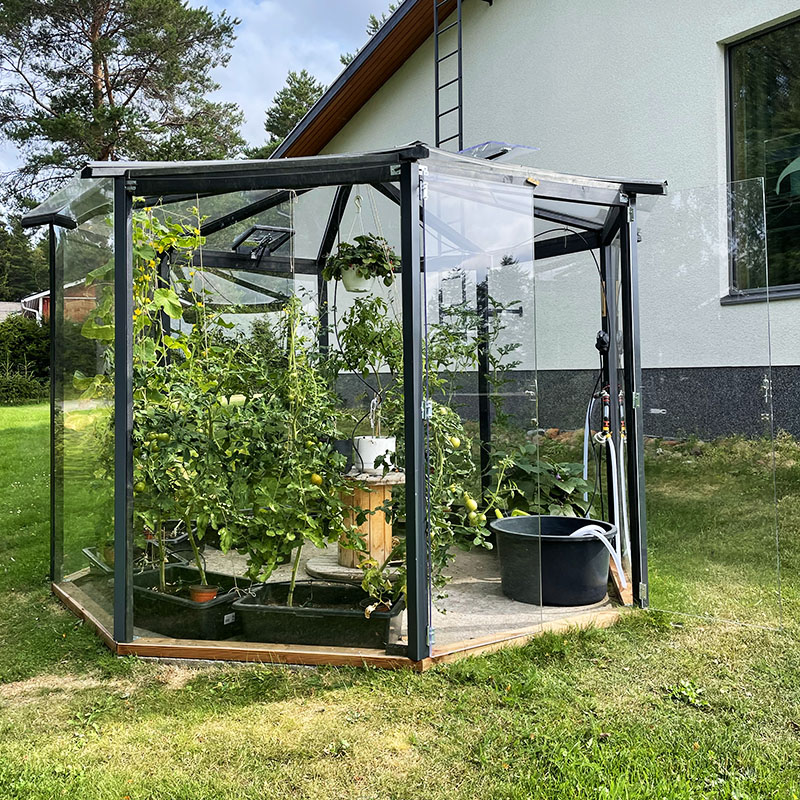
We were able to finish the project and our own greenhouse was ready for plants to move in.
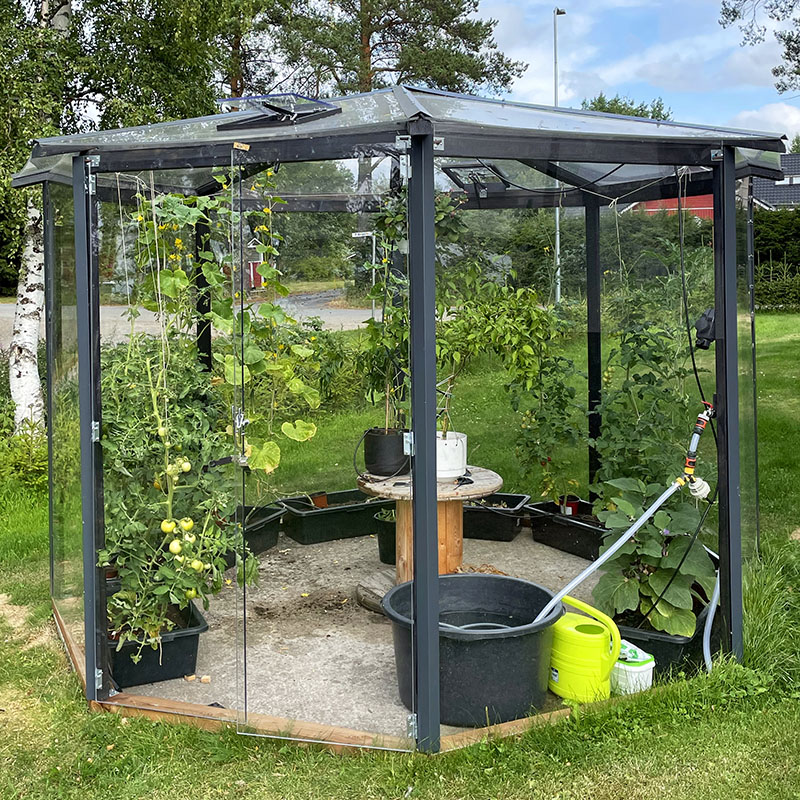
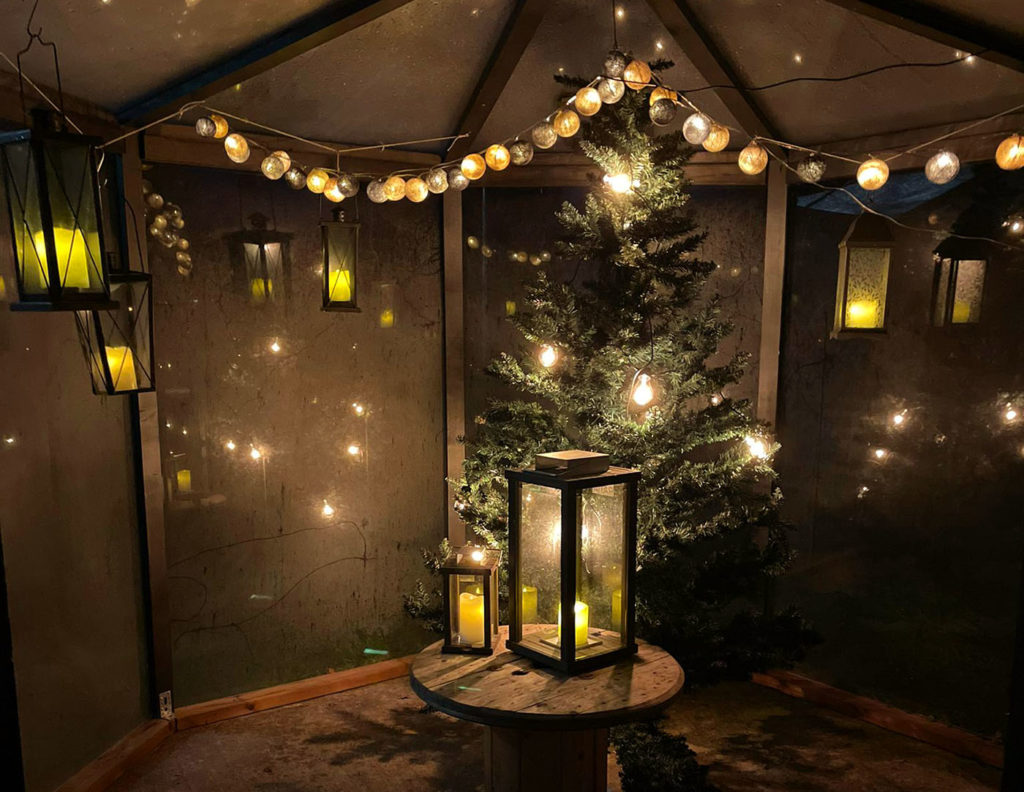
The greenhouse has also been used a lot after the summer. In the autumn, it was nice to watch the northern lights through the bright roof of the greenhouse and drink hot cocoa. And it wasn’t a bad idea to put a Christmas tree and lanterns in the middle of the greenhouse for the dark season.
If you were inspired to build your own greenhouse, you can find a lot of information about choosing the right materials on our website (in Swedish, German and Finnish), as well as tips for building a greenhouse yourself.
Tuija built her greenhouse from acrylic, but greenhouse can also be made of polycarbonate multiwall sheets.